Are you looking to remodel your kitchen but are on a budget? Renovations can be pricey and many homeowners decide to freshen up the kitchen themselves.
The focal point of every kitchen is the cabinetry, which is why kitchen remodeling often starts by replacing or repainting the old cabinets. This can take a huge toll on your wallet.
Luckily, it’s a job you can do yourself with some paint, sandpaper, and a little hard work. Follow our steps below for an effective, affordable cabinet refinishing and give your kitchen the stunning makeover it deserves.
1. Do the Prep Work
The first step to refinishing kitchen cabinets is preparation. You have to get the room ready for the job, which means emptying out the cabinets and removing all the appliances nearby.
Then, put protective sheets over the floor and surrounding area to avoid stains. Make sure the room has enough ventilation to help the paint dry faster and air out the evaporating gases.
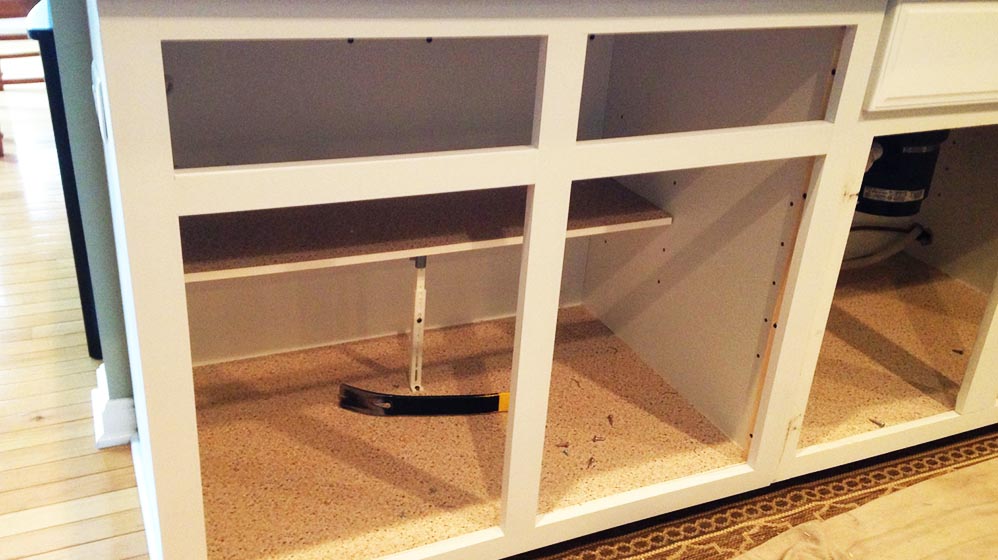
2. Remove the Doors and Shelves
You can’t paint a cabinet with precision unless you disassemble the entire thing. This means removing all the doors, shelves and, hinges. You’ll need to paint each piece separately from the frame, but this will help you do a cleaner, better job.
In cabinet restoration projects, remove the hinges extremely carefully to avoid damaging the wood.
3. Clean and Sand the Elements
The kitchen cabinets may have some buildup from grease, dirt, and wear and tear, so you have to clean them thoroughly.
If you’re wondering how to refinish kitchen cabinets the best way, repair any cracks, damage, or holes you see. This is essential before applying primer.
4. Apply the Primer
Redoing kitchen cabinets cannot be done without applying primer first. Once the wood is treated with sandpaper and all the holes have been closed, the primer preps the surface for the first coat of paint.
The primer you use depends on the type of wood. For instance, oak, hickory, and mahogany are highly absorbent, while cherry is not, so you’ll have to choose the primer carefully.
5. Apply the First Coat of Paint
The last step to remodel kitchen cabinets is applying the first coat of paint. Also a freshly painted wall or painting the elements in the space can truly liven up the room and make it trendy.
Once you’ve applied primer, start by painting the interior of the cabinet doors with a paint roller. This will give you some rough edges you’ll later sand to apply the second layer with a brush. This process will help the paint set in nicely.
You’ll probably need another coat to get the best finish, but wait for the previous one to dry off completely first.
Cabinet Refinishing Is Easy With These Tips!
Undertaking a cabinet refinishing on your own is a challenging task, but if you follow our tips, your kitchen will look brand new in no time!
Ready to start painting? Contact us today fora free quote!