spring project

Enhancing Your Home’s Exterior: Exciting Spring Projects to Consider

As the winter chill gives way to the gentle warmth of spring, it’s the perfect time to breathe new life into your home’s exterior. Whether you’re looking to boost your home’s curb appeal or create a cozy outdoor retreat, there are plenty of exciting spring projects to consider. From refreshing your landscaping to updating your outdoor lighting, the possibilities are endless. In this blog post, we’ll explore some inspiring ideas for sprucing up your home’s exterior this spring.

1. Landscaping Refresh

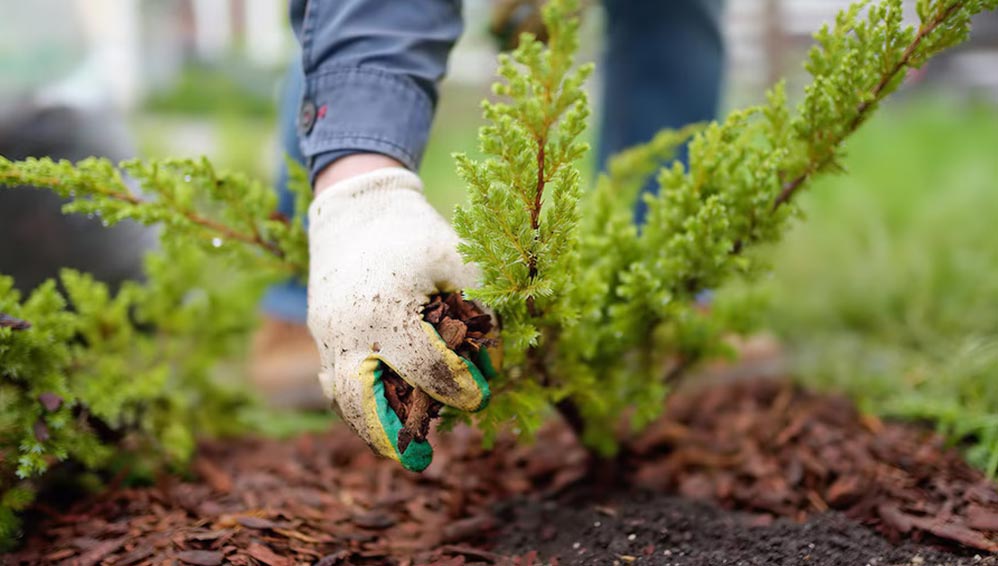
One of the most impactful ways to enhance your home’s exterior is by giving your landscaping a refresh. Consider adding colorful flowers, shrubs, and trees to your garden beds to create a vibrant and inviting look. Incorporating native plants can also help attract pollinators and wildlife to your yard. Don’t forget to mulch your flower beds to help retain moisture and suppress weeds.

If you have a green thumb, you might also consider starting a vegetable or herb garden. Not only will it provide you with fresh produce, but it can also add a charming touch to your outdoor space. Raised garden beds are a popular option for growing vegetables and herbs and can be easily incorporated into your landscaping design.

2. Outdoor Lighting Upgrade

Enhancing your home’s exterior lighting can dramatically transform the look and feel of your outdoor space. Consider installing new light fixtures along pathways, near entryways, and in your garden beds to create a warm and inviting ambiance. LED lights are a great energy-efficient option for outdoor lighting and come in a variety of styles to suit your aesthetic preferences.

To add a touch of drama to your outdoor space, you could also consider incorporating landscape lighting to highlight key features such as trees, architectural elements, or water features. Solar-powered lights are a convenient and eco-friendly option for illuminating your outdoor space without increasing your energy bills.

3. Fresh Coat of Paint

Giving your home’s exterior a fresh coat of paint is a simple yet effective way to enhance its curb appeal. Choose a color scheme that complements your home’s architectural style and landscaping. Consider painting your front door a bold hue to make a statement and add a pop of color to your home’s exterior.

If you have a wooden deck or fence, spring is the perfect time to give it a fresh coat of stain or paint to protect it from the elements and keep it looking its best. Don’t forget to properly prepare the surface by cleaning and sanding it before applying the new finish for long-lasting results.

4. Outdoor Living Space

Creating an outdoor living space can significantly enhance your enjoyment of your home and provide a relaxing retreat for you and your family. Consider adding a patio, deck, or outdoor kitchen where you can entertain guests or simply relax and unwind after a long day.

Investing in comfortable outdoor furniture, such as lounge chairs, dining sets, and umbrellas, can help create a cozy and inviting outdoor oasis. Adding accessories like outdoor rugs, throw pillows, and string lights can further enhance the ambiance of your outdoor living space and make it feel like an extension of your home.

5. Garden Structures

Adding garden structures such as pergolas, arbors, or trellises can add architectural interest to your outdoor space and provide support for climbing plants like vines and roses. These structures can also create shade, privacy, and a sense of enclosure in your garden, making it feel like a secluded retreat.

best time of year to paint

The Best Time of Year to Paint: Navigating Seasonal Challenges

Introduction

Painting is a transformative process that can breathe new life into our homes and spaces. Choosing the right time of year to paint is essential to achieving a successful and long-lasting paint job. Each season presents its own set of challenges that can impact the outcome of a painting project. In this blog post, we will explore the best time of year to paint and discuss the unique considerations for painting in spring, summer, and fall.

Spring: Dealing with Rain, Cooler Temperatures, and Pollen

Spring is a popular time for painting as it marks the beginning of warmer weather and longer daylight hours. However, painting in spring comes with its own challenges. Rain showers are common in spring, and excessive moisture can affect the drying process of paint, leading to longer drying times and potential adhesion issues. Cooler temperatures can also slow down the drying process, affecting the overall quality of the paint job.

In addition, the end of spring and the beginning of summer bring an increase in pollen levels, which can settle on freshly painted surfaces and create a gritty texture. It is essential to consider these factors when planning a painting project in the spring and take precautions to mitigate their impact on the final result.

Summer: Battling Extreme Heat

Summer is often considered the ideal time for painting due to the warm temperatures and longer days. However, extreme heat can pose challenges for painters. High temperatures can cause the paint to dry too quickly, leading to adhesion issues, brush marks, and an uneven finish. In addition, working in extreme heat can be physically demanding and may require extra precautions to prevent heat-related illnesses.

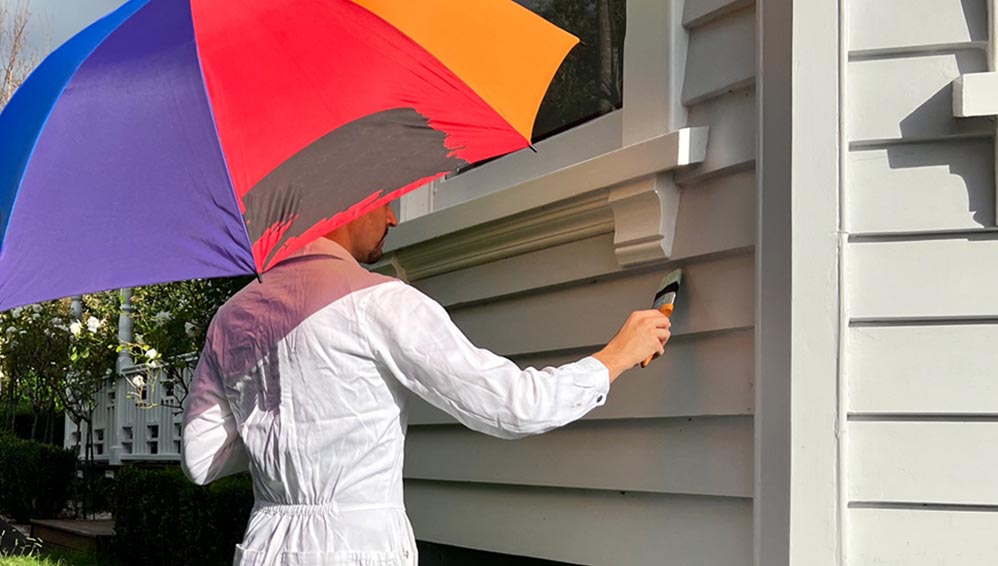
To overcome the challenges of painting in the summer, it is recommended to paint early in the morning or late in the evening when temperatures are cooler. Providing shade for the painted surface can also help regulate the drying process and improve the overall quality of the paint job.

Fall: Managing Cooler Temperatures, Rain, and Higher Humidity

Fall is another popular season for painting, as temperatures begin to cool down after the heat of summer. However, cooler temperatures in the fall can slow down the drying process of paint, leading to longer drying times and potential adhesion issues. In addition, the return of rain showers and higher humidity levels in the fall can pose challenges for painters, affecting the overall quality of the paint job.

To address these challenges, it is important to monitor weather conditions closely and plan painting projects accordingly. Painting earlier in the fall when temperatures are milder and humidity levels are lower can help ensure a successful paint job. Taking precautions such as providing proper ventilation and using dehumidifiers can also help mitigate the impact of higher humidity on the drying process.

Conclusion

In conclusion, the best time of year to paint depends on a variety of factors, including weather conditions and seasonal challenges. Each season presents its own unique considerations that can impact the outcome of a painting project. By understanding the challenges associated with painting in spring, summer, and fall, and taking appropriate precautions, you can achieve a successful and long-lasting paint job regardless of the season. Remember to plan ahead, monitor weather conditions, and adapt your painting techniques to suit the specific requirements of each season.
and implementing best practices, you can achieve

painting in heat

Painting in Heat: The Importance of Following Recommended Surface Temperatures

Introduction

Painting is a common and effective way to enhance the aesthetics of our surroundings, whether it be our homes, offices, or other structures. However, the process of painting can be greatly affected by external factors such as temperature. In particular, painting in extreme heat can present a variety of challenges that may compromise the quality and durability of the paint job. In this blog post, we will explore the impact of high temperatures on painting and emphasize the importance of adhering to recommended surface temperatures to ensure the best possible results.

The Effect of Heat on Painting

Painting in high temperatures can lead to a range of issues that can negatively affect the outcome of a paint job. One of the most significant problems is the rapid evaporation of solvents in the paint, which can cause the paint to dry too quickly. When paint dries too fast, it may not adhere properly to the surface, resulting in poor adhesion and an uneven finish. Additionally, rapid drying can lead to brush marks, lap marks, and other imperfections that detract from the overall appearance of the painted surface.

Furthermore, high temperatures can also cause the paint to become too thin, making it difficult to apply evenly. Thinned paint may run or drip, resulting in an uneven coating that requires additional touch-ups. In extreme cases, paint applied in high temperatures may not cure properly, leading to premature cracking, peeling, or flaking.

Recommended Surface Temperatures for Painting

To mitigate the negative effects of high temperatures on painting, it is crucial to follow the manufacturer’s recommendations regarding surface temperatures. In general, most paint manufacturers advise against painting when the surface temperature is above 92°F (33°C) or below 48°F (9°C). These guidelines are based on years of research and testing to ensure optimal painting conditions and the best possible results.

When the temperature exceeds 92°F, it is recommended to postpone painting until conditions are more suitable. High temperatures can accelerate the drying process and compromise the quality of the paint job. In addition, extreme heat can make it challenging to work with the paint, as it may become too thin and difficult to control.

On the other hand, painting in temperatures below 48°F can also have detrimental effects on the paint job. Cold temperatures can slow down the drying process, leading to extended drying times and potential issues with adhesion. Paint applied in cold weather may not cure properly, resulting in a weaker bond with the surface and reduced durability over time.

Tips for Painting in High Temperatures

If you must paint in high temperatures, there are several precautions you can take to minimize the negative effects of heat on your paint job:

1. Paint in the early morning or late afternoon when temperatures are cooler.
2. Provide shade for the painted surface to prevent direct exposure to sunlight.
3. Use paint additives or extenders to slow down the drying process and improve workability.
4. Work in small sections to ensure that the paint is applied evenly and does not dry out too quickly.
5. Take frequent breaks to stay hydrated and avoid heat exhaustion.

Conclusion

In conclusion, painting in extreme heat can present a variety of challenges that may compromise the quality and durability of the paint job. To ensure the best possible results, it is essential to follow the manufacturer’s recommendations regarding surface temperatures and take appropriate precautions when painting in high temperatures. By adhering to these guidelines and implementing best practices, you can achieve